How To Install Xampp In Ubuntu 18.04
Although Ubuntu 20.04 or its earlier Linux versions we don't need to install XAMPP because using few commands, we can set up the LAMP environment on Ubuntu. Thus, for Windows, it is a greater piece of software. However, if you don't want to go through various commands to set up a LAMP, the XAMPP is the best option.
What is XAMPP?
If you want to develop software for the web or create a website, you need a test environment that is not accessible from outside but includes all the necessary tools. XAMPP from Apachefriends offers such a development environment. It allows creating a Local web server with Apache, PHP, Perl, and MySQL.
In addition to Apache, MySQL, PHP, and Perl, other programs such as phpMyAdmin for the administration of MySQL, OpenSSL for encryption of network connections, FileZilla as an FTP server and the Mercury Mail Transport System is an email server with POP, SMTP and IMAP are included. In addition, the web analysis tool Webalizer is available, although the path in webalizer.php may have to be adapted in the event of problems.
XAMPP is designed as a pure test system and aims to be ready for use quickly. Thus, not meant to serve as a web server for commercial because it does not offer adequate protection against possible hacker attacks there. Apart from Windows and macOS, it almost supports all Linux distributions such as Debian, RedHat, CentOS, Ubuntu, Fedora, Gentoo, Arch, SUSE.
requirements
- Graphical Ubuntu 20.04 LTS Linux
- A non-root user with
sudorights.
Contents
- Use Xampp on Ubuntu 20.04 LTS focal Fossa
- Step 1: Download XAMPP for Ubuntu Linux
- Step 2: Open Command Terminal
- Step 3: Change permission and Run XAMPP installer
- Step 4: Setup Installer Wizard
- Step 5: Start Apache and MySQL server
- Step 6: Stop or Start XAMPP server
Use Xampp on Ubuntu 20.04 LTS focal Fossa
You can follow the below steps not only for Ubuntu Focal Fossa but also for earlier versions such as Ubuntu 19.10/19.04/18.10/18.04/16.04… Linux Mint, Debian, Elementary OS…
Step 1: Download XAMPP for Ubuntu Linux
The first thing we need is the executable binaries of XAMPP on our Ubuntu 20.04 LTS. For that, we simply visit the official website of this tool. Here is the link.
Scroll down to the section where the XAMPP Linux packages are available to download. You will see three versions there:
- 7.2.30 with PHP 7.2.30 (64-bit)
- 7.3.17 with PHP 7.3.17 (64-bit)
- 7.4.5 with PHP 7.4.5 (64-bit)
Expect the PHP version, the rest of the tools in all the three versions will be the same. Thus, as per the requirement of the PHP version of your project download the one.

Apachefriends download XAMPP
Here we are downloading the PHP 7.4.5 version, however, you can go for any of them. Click on the Download button.
Step 2: Open Command Terminal
You can either use the shortcut- CTRL+ALT+T or simply go to Applications from Activities option and search for the Terminal and run it.
Step 3: Change permission and Run XAMPP installer
By default, whatever we are downloading from the internet using the browser on Linux systems, go into Downloads folder, thus first switch to that first.
cd Downloads
Change the permission of the installer. 755 means read and execute access for everyone and also write access for the owner of the file
chmod 755 xampp-linux-*-installer.run
Run the installer
sudo ./xampp-linux-*-installer.run
Step 4: Setup Installer Wizard
The moment you run the installation command, a XAMP setup wizard will open. Click on the Next button.
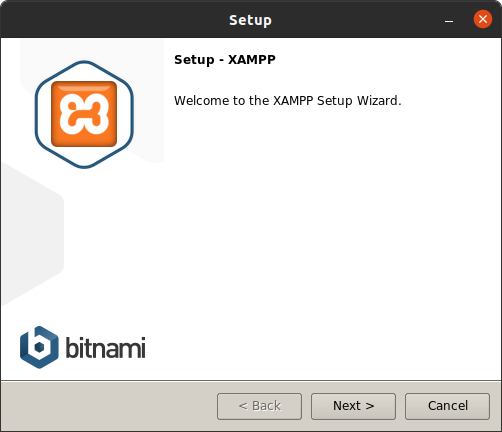
Run Bitnami XAMPP
Select both the components "XAMPP Core files" and XAMPP Developer files and then NEXT.
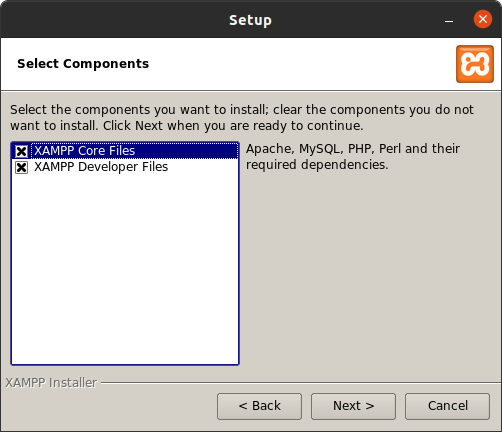
Select XAMPP components to install
By default, all the files will unpack under /opt/lampp.
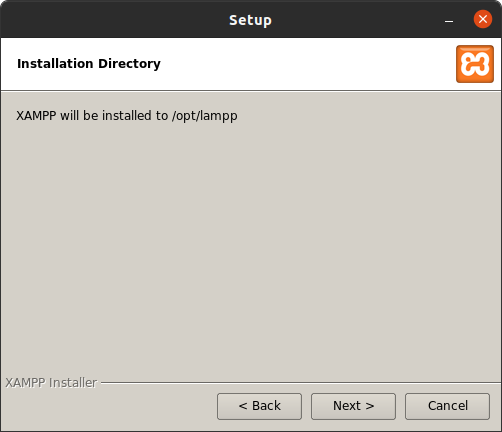
Default installation folder
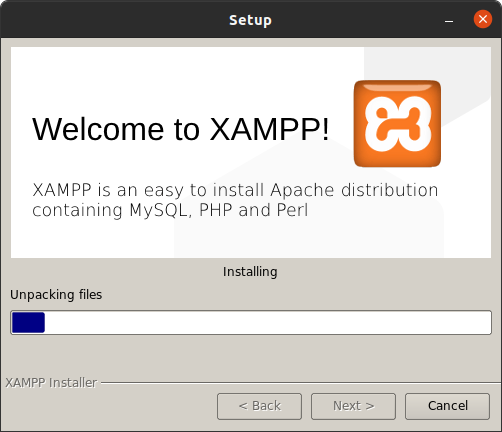
Progress
Click on the Finish and the XAMPP will be on your Ubuntu 20.04 LTS system.
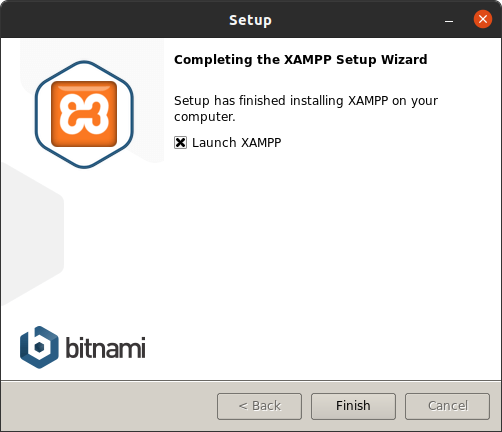
XAMPP installed on Ubuntu Linux
Step 5: Start Apache and MySQL server
Go to Manage Server Tab and corresponding to Webster and Database click on the start button. To change their running ports select the Configure one.
Step 6: Stop or Start XAMPP server
In the future, if you want to stop the service of this tool, simply use the following command with sudo .
To stop all Xampp running services:
sudo /opt/lampp/lampp stop
And if you want to start them again via command line:
sudo /opt/lampp/lampp start
How To Install Xampp In Ubuntu 18.04
Source: https://www.how2shout.com/linux/how-to-install-xampp-on-ubuntu-20-04-lts/
Posted by: holderenditarray.blogspot.com

0 Response to "How To Install Xampp In Ubuntu 18.04"
Post a Comment